
Have you recently moved into a new house? Are there upgrades to the home that you are considering? For those who have a kitchen that is a bit outdated, are you considering replacing these? Why replace when you could reface these cabinets! Refacing cabinets is a money saving alternative to those who want to upgrade their cabinets, yet not replace these entirely. It is also a way to reduce your carbon footprint in the world, as you are not going to be adding to the local landfill with these older cabinets.
Is Refacing a Possibility for Your Project?
It is important to note that refacing is not something that everyone can do within their home. You must have a cabinet that is structurally sound. This means the cabinet body is not water damaged, cracked or broken. With refacing you will be sanding, adding pain and perhaps new hardware to these doors. If these cabinets are not structurally sound, then you will run into huge issues. If the cabinets are in poor shape, your only option may be to totally replace these cabinets. This job can cost a few hundred dollars for a simple paint job and replace new hardware. A more substantial upgrade with new cabinet doors and the like can cost a couple of thousand dollars.
Steps for Refacing Cabinets
- Examine the cabinets and find any problem areas. For example, if there are cracks in the wood or pieces that are becoming unattached, these must be fixed before you start the finishing process.
- Fix any issues that may be present and give enough time for these fixes to become permanent. Usually, any fix that requires wood glue or other repairs will dry completely within 24 hours.
- Sand or utilize a paint remover to remove wax, varnish or paint from the cabinets. You will want to get this as close to the original wood as possible. This way you are working with a blank slate. A note of caution: be careful if you are sanding the cabinets, as you do not want to burn the wood or make indents that will show after the project is complete. Be sure to have a vacuum handy when sanding to remove dust from the air and a huge mess to clean up later!
-
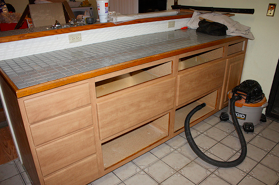
image by howmuchvisit.org
After getting the cabinet surface to the point it is ready to be painted or stained, take the time to test a small area with the color that you have chosen. It is much easier to correct a small section rather than all the cabinets if this color does not work for you.
- Utilize rollers or brushes to paint or stain these cabinets how you desire. A few coats may be needed to ensure that these cabinets look professional. Be sure to wait 12 hours to 24 hours in between coats to avoid runs and smudges!
- Once complete, add in your new hardware, perform clean up and step back to look at your handy work!
Refacing Ideas to Consider
There are several refacing ideas that have made the rounds via the Internet that many people are loving. The good news: they are something that you can do on your own to your cabinets!
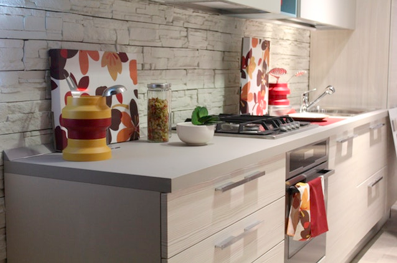
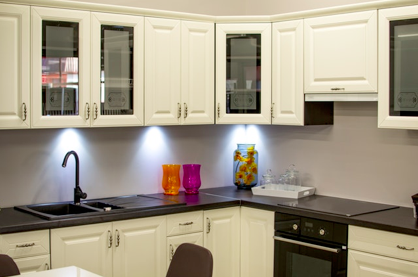
Black and White: A Classic Color Scheme
This is a classic color scheme that is seen time and time again in kitchens. A coat of white paint, a simple black countertop can take a kitchen from drab to fab!
Change up Hardware
For outdated hardware on cabinets that look otherwise great, a simple switch may be all that is needed. Upgrading bronze handles to silver gives a more modern feel.
blog.larsondoors.com
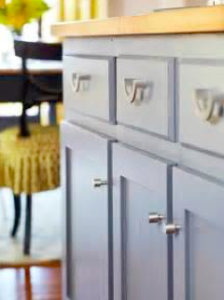
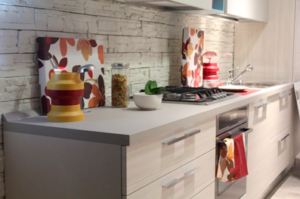
Gray is the New Wood
Years ago, wood grains were all the rage in kitchens. However, nowadays, gray is taking over! Many people are taking various shades of gray and painting over the wood to give a more modern feel!
Recent Comments